
Step 1
Getting Started
Whether you’re a “Weekend Warrior” that lives for the next project, or a first time do-it-yourselfer, Verdura® plantable blocks allow you to build retaining walls, lawn borders, and planting beds with a professional look. One of the benefits of constructing with the Verdura® system is that you can build a little at a time, or for the more serious “Weekend Warriors,” knock a project out in a weekend — it’s your choice.
Here’s what you’ll need to get started
- Shovel
- Tamper
- String Line
- 6′ long 2×4
- Leveling Stakes
- Hammer
- Planting Soil
- Protecting Eyewear
Step 2
Diggin’ It
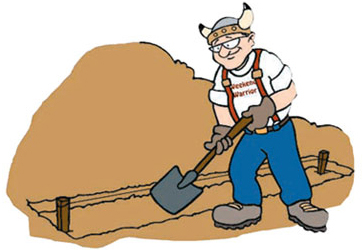
Grab a shovel to start digging. The first row of block that you lay will need to be buried below the earth so it acts as a support or “footing” for the wall. Dig a trench that is the “RH” (lip is exposed above the trench) and “D” plus a few inches on each side of the block you are using (see Block Series). Then you’ll want to set the stakes at either end of the trench along the center line and run a string line between them to measure trench depth. Adjust the footing grade to be parallel with the string line. Remove the string line to start laying blocks.
Step 3
Laying Down the Line
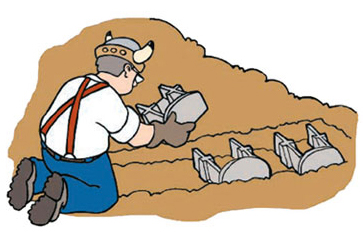
For straight walls, lay the blocks, lip side out, along the trench. Blocks should be uniformly placed in the trench at a spacing of 9″ between blocks for Verdura® 30 or 6″ apart for Verdura® 10. You can use a string line set across the face of blocks to ensure a straight wall.
Tip: To make equal spacing of blocks easier, cut a 6″ spacer (Verdura® 10), or a 9″ spacer (Verdura® 30) from your 6′ length of 2×4. For borders and non-plantable walls, lay blocks without spacing.

Step 4
Fill’er Up
Backfill with soil within, between and behind each block ensuring the entire row is covered. Compact the soil with the tamper all along the row so you have a firm base upon which to place the next row.
Step 5
Push Me – Pull Me
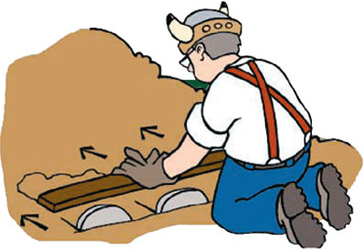
Even out the surface of the soil by using a “rod board” to smooth the earth. Place a 6′ long 2×4 board just behind the lip of the block. Exerting some even pressure on the board, push or pull (depending on what side of the blocks you’re on) the excess soil from the top of the block’s rails. This will provide you with a flat surface on which to lay your next row of blocks.
Step 6
Repeat After Me
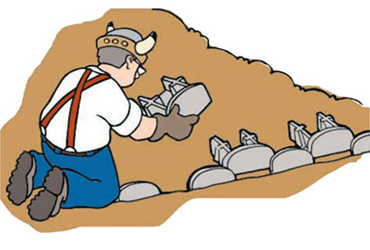
Each additional row of blocks should be centered over the space between blocks in each row below to allow for planting. Repeat Steps 3-5 until you have attained your desired wall height.
Tip: Your wall can be irrigated with mist, drip, or sprinkler system.
Step 7
Relax & Enjoy
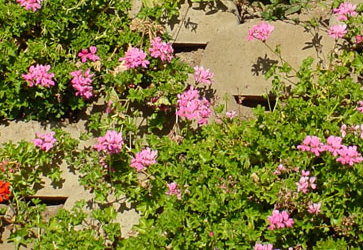
After planting with the foliage of your choice you can sit back, put your feet up, sip on your favorite beverage, and enjoy the beauty of your Verdura® retaining wall for years to come.
Be sure to look at Design Options.


