Getting Started
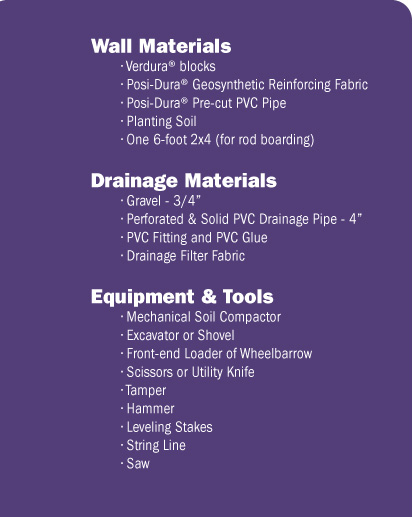
What You’ll Need for Your Project
To get your project started, you’ll need to do the following:
- Review the Verdura® Standard Design
- Determine slope geometry, maximum wall height and wall area
- Obtain classification of site soils by qualified geotechnical (soils) engineer – this individual can also be retained for soil compaction testing and inspection during construction
- Develop a site plan of your property, identifying proposed elevation and location of your Verdura® retaining wall(s)
- Select a Standard Design for your retaining wall based on your site conditions
- Apply for any necessary permits from your local building authority, using your site plan and the Standard Design

Step 1
Preconstruction Planning
Starting with the inspector from your local permitting authority and your soils engineer, establish how and when inspection will occur during construction of your Verdura® retaining wall. A soils engineer should be on site at intervals during construction to provide special inspections in accordance with the Verdura® Standard Design.
Determine the amount of materials required to build your Verdura® retaining wall and purchase from your local distributor.
Step 2
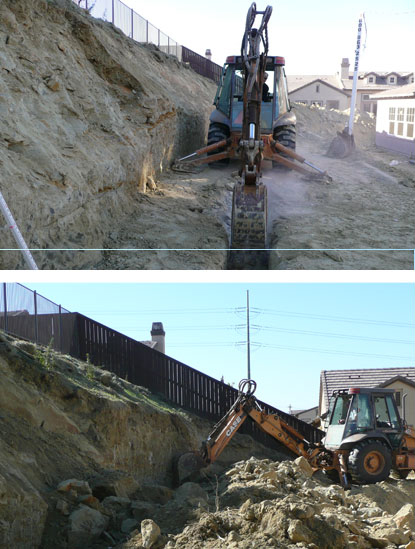
Can You Dig It?
Excavate the slope in accordance with the length of Posi-Dura reinforcement as specified in the Standard Design. Stockpile soil in an out-of-the-way place until you are ready to backfill your Verdura retaining wall.
Dig a trench the length of your wall that is 12″ deep and 18″ wide.
Before laying the first row of blocks, set stakes at either end of the trench along its center line. Run a string line between the stakes. Adjust the footing grade to be parallel with the string line.
Step 3
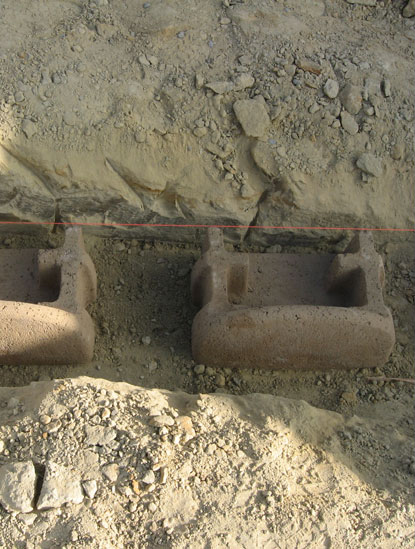
Laying Down the Line
Lay the first row of blocks, lip side out, within the trench. Blocks should be uniformly placed in the trench with equal spacing. [Confirm spacing recommendations]
Tip: To make equal spacing of block easier, cut the desired spacer from your 6-foot length of 2×4 board used in the materials list.
Step 4
Fill’er Up and Pack It In
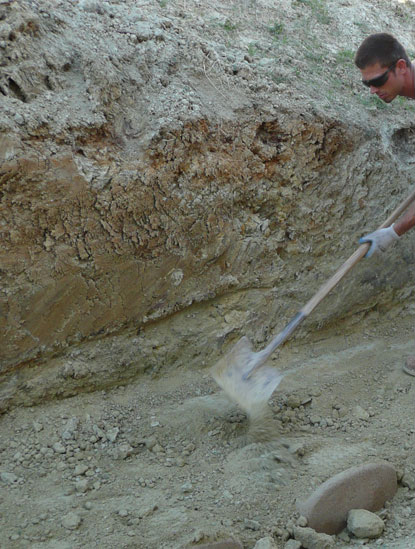
Backfill with soil within, between and behind each block until your entire row is covered. Using a hand tamper, compact soil within & around each block.
For the embedment rows, also backfill and compact in front of the blocks.
The first two rows of blocks will be buried below the finished grade to act as a footing. Each block will be centered over the space between blocks in the row below.
Step 5
Rod Boarding
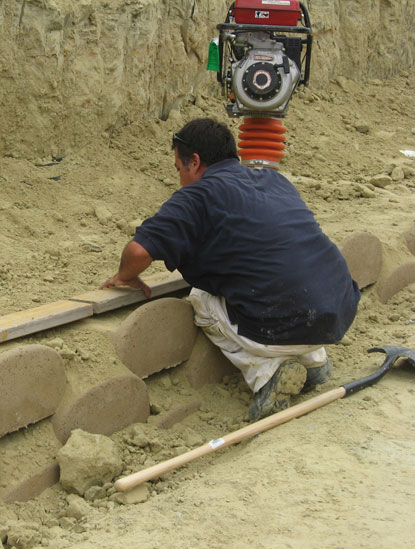
After compacting, even out the surface of the soil by using a “rod board.” Place your 2X4 board just behind the lips of the blocks. Exerting even pressure on the board, push or pull (depending on what side of the blocks you’re on) the excess soil from the top of the blocks’ rails. The goal here is to achieve a uniform surface on which to lay your next row of blocks. Some soil may be left on the rails.
Step 6
Putting Your Tails Together
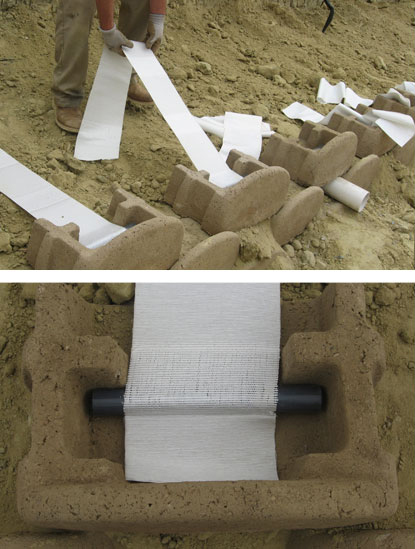
Always cut the Posi-Dura® reinforcing geosynthetic fabric at the midpoint of the panel between pipe sleeves to maintain the integrity of the fabric. Cut each tail to the length designated in the Standard Design. Insert a 11 1/4″ Posi-Dura® pre-cut PVC pipe into the first sleeve.
Within every third row block, you will place a Posi-Dura® tail.
For the top Posi-Dura layer, insert an additional length of pipe in the sleeve furthest away from the block to serve as an anchor.
Step 7
Structural Backfill
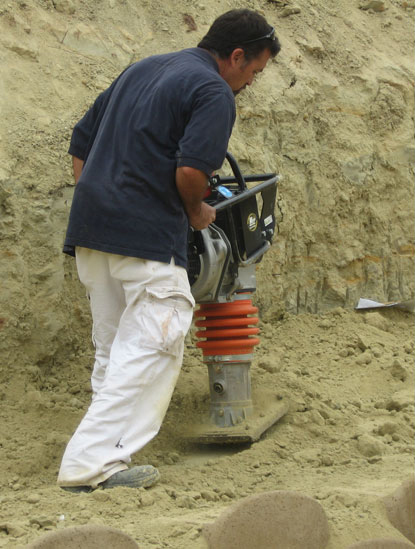
Backfill from the front lip of the Verdura® block to the temporary slope. With a hand tamper, compact soil within and between the blocks. Mechanically compact the soil behind the blocks all the way back to the temporary slope.
Step 8
Back Drain
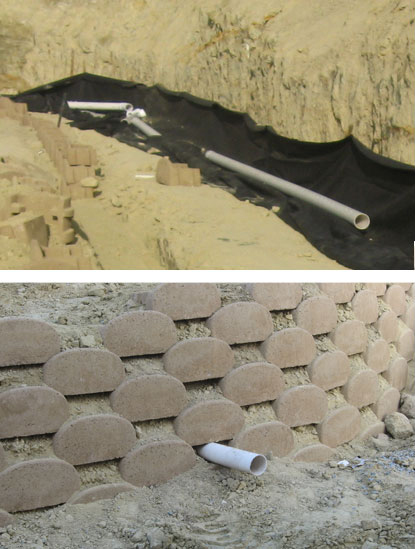
Then dig a 1-foot by 1-foot trench the length of the wall along the base of the temporary slope. Lay a 6-foot-wide piece of drainage fabric in the trench and place perforated drainage pipe (holes down) in the middle of the fabric. Place gravel around the pipe and fold the excess fabric over both the gravel and the pipe.
Solid PVC pipe outlets should be placed in accordance with the Standard Design.
Step 9
Repeat After Me
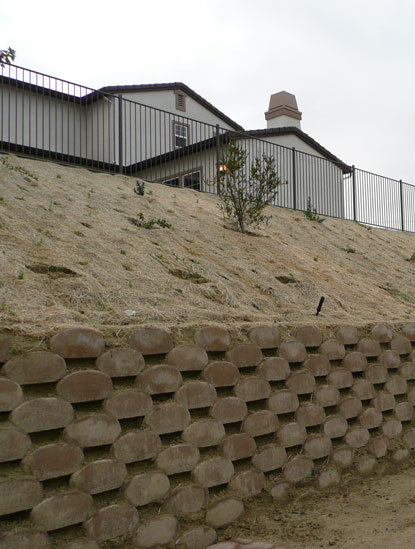
Repeat steps 4-7 until you have reached your desired wall height. Backfill each of the last two rows of blocks with cohesive soil, to minimize water penetration.
Tip: To encourage plant growth, add planting soil inside the blocks that are above ground level.
Be sure to look at Design Options.


